Glitter nail art is a fantastic way to add a touch of glamour and sparkle to your look, making it more perfect for special occasions or simply brightening up your everyday style. Whether you are preparing for a night out or just want to add a bit of dazzle to your day, glitter nails can transform your appearance effortlessly. For women in the USA and Canada who love a bit of shine, we have curated some easy glitter nail art ideas that which you can do at home. This guide will show you step-by-step how to create dazzling designs that are sure to impress!
Why Choose Glitter Nail Art?
Glitter nail art offers a multitude of benefits that make it a popular choice among nail enthusiasts:
- Versatility: Glitter comes in various sizes, colors, and textures, making it easy to customize your nail art to match any outfit or occasion.
- Easy to Apply: With just a few tools and some polish, you can create stunning glitter designs without needing professional skills.
- Instant Glamour: Glitter nails instantly elevate your look, adding a touch of sophistication and sparkle that’s perfect for any event.
Tools and Materials You’ll Need
To create stunning glitter nail art, gather these essential tools and materials:
- Base Coat: Protects your nails and provides a smooth base for glitter.
- Top Coat: Seals in your design and adds a glossy finish.
- Glitter Nail Polish: Available in various colors and finishes, perfect for creating different looks.
- Loose Glitter: Adds extra sparkle and dimension to your designs.
- Nail Brushes or Sponges: Helps in applying glitter precisely.
- Nail Polish Remover and Cotton Swabs: For cleaning up any mistakes.
Easy Glitter Nail Art Ideas
1. Glitter Gradient Nails
A glitter gradient or “glitter ombre,” is a simple yet stunning design that creates a seamless transition from full glitter to clear or colored polish.
Step-by-Step Instructions:
- Apply a Base Coat: Start with a clear base coat to protect your nails and help the polish adhere better.
- Paint a Base Color: Choose a base color that complements your glitter. Light colors work well for a subtle look, while dark colors provide a bold contrast.
- Apply Glitter Using a Sponge: Pour a small amount of glitter polish onto a makeup sponge. Gently dab the sponge onto the tips of your nails, gradually moving towards the center to create a gradient effect. The sponge helps concentrate the glitter at the tips while creating a faded look towards the cuticles.
- Seal with a Top Coat: Once the glitter is dry, apply a top coat to smooth out the texture and add shine.
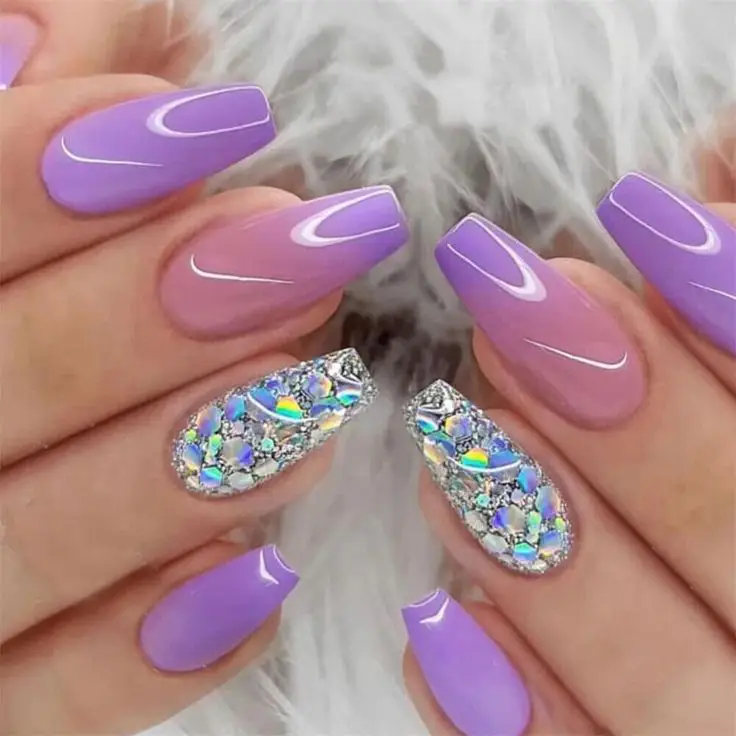
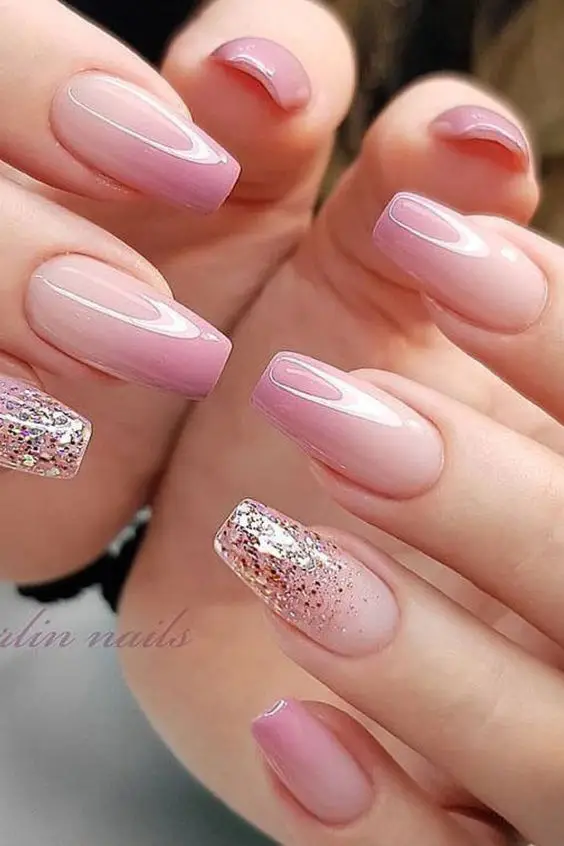
2. Glitter Accent Nails
Glitter accent nails are a great way to incorporate glitter without overwhelming your entire manicure. Typically, one or two nails are covered in glitter, while the rest are painted with a solid color.
Step-by-Step Instructions:
- Prep Your Nails: Apply a base coat to all nails.
- Paint Your Base Color: Apply a base color of your choice to all nails.
- Add Glitter to Accent Nails: Choose one or two nails to accent with glitter. Apply a glitter polish directly to these nails, or use loose glitter for a more dramatic effect. To use loose glitter, paint the accent nail with a clear polish, then dip it into the glitter while the polish is still wet.
- Finish with a Top Coat: Seal all nails with a top coat to add shine and prevent chipping.
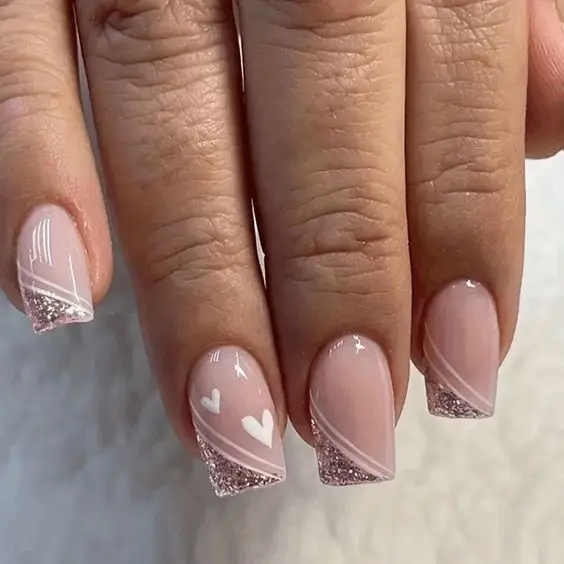
3. Glitter French Tips
Put a sparkly twist on the classic French manicure by using glitter instead of a solid color for the tips.
Step-by-Step Instructions:
- Base Coat and Base Color: Start with a base coat and then apply a nude or light pink polish to all nails.
- Apply Glitter Tips: Once the base color is dry, use a striping brush or tape to outline the tips of your nails. Fill in the tips with glitter polish, or dip them into loose glitter for a bolder look.
- Clean Up Edges: Use a cotton swab dipped in nail polish remover to clean up any glitter that may have strayed onto your skin.
- Top Coat: Apply a top coat to seal the glitter and add a glossy finish.
4. Full Glitter Nails
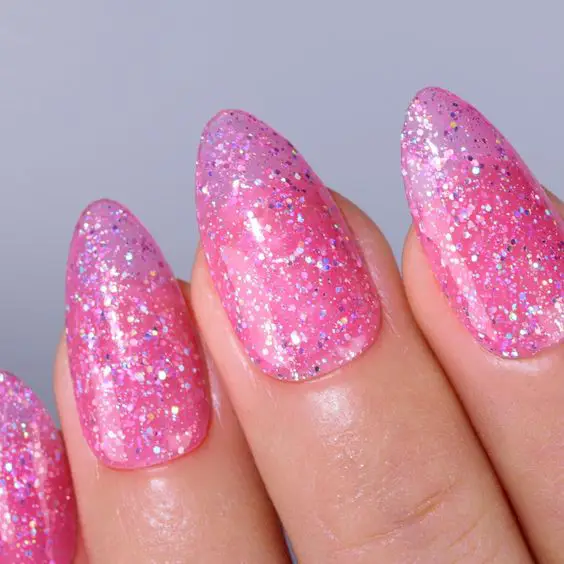
For a bold, eye-catching look, opt for full glitter nails. This style is perfect for parties, holidays, or any time you want to make a statement.
Step-by-Step Instructions:
- Prep Your Nails: Apply a base coat to protect your nails.
- Apply a Solid Color Base (Optional): If you want extra depth, apply a solid color base that complements your glitter.
- Add Glitter Polish: Apply a glitter polish directly to your nails. For maximum coverage, use a dabbing motion rather than a sweeping one.
- Apply Loose Glitter for Extra Sparkle: While the polish is still wet, sprinkle loose glitter over your nails for a more intense effect.
- Top Coat: Seal with a thick layer of top coat to smooth the texture and add shine.
5. Glitter Half-Moon Nails
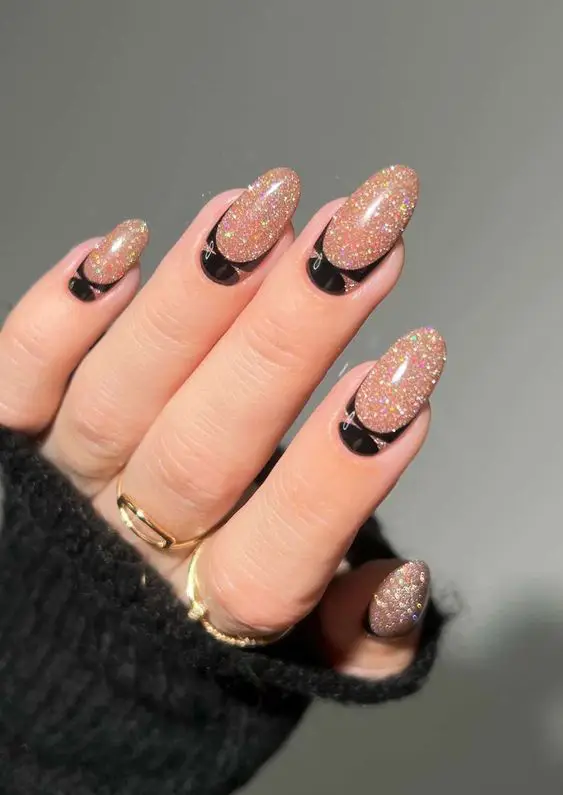
The half-moon manicure is a classic design that looks stunning with a touch of glitter.
Step-by-Step Instructions:
- Apply a Base Coat: Start with a base coat to protect your nails.
- Create the Half-Moon: Using a circular sticker or nail guides, cover the base of your nails near the cuticle, leaving the half-moon shape exposed.
- Paint with Glitter: Apply glitter polish to the exposed half-moon area. For a more dramatic look, use loose glitter.
- Remove Stickers and Clean Edges: Carefully remove the stickers and use a cotton swab dipped in nail polish remover to clean any mistakes.
- Finish with a Top Coat: Apply a top coat to protect the design and add shine.
Tips for Perfect Glitter Nail Art
- Choose High-Quality Glitter Polishes: Good quality glitter polishes will have a thicker consistency and contain more glitter, providing better coverage and durability.
- Be Patient with Drying Time: Glitter polishes can take longer to dry, so be patient between layers to avoid smudging.
- Use a Peel-Off Base Coat: If you’re worried about removing glitter polish, use a peel-off base coat for easier removal.
- Mix Textures and Finishes: Don’t be afraid to mix matte and glossy polishes with glitter for a unique look.
How to Make Your Glitter Nails Last Longer
- Apply Thin Layers: Applying thin layers of polish and glitter helps prevent chipping and allows each layer to dry properly.
- Reapply Top Coat Every Few Days: Adding a fresh layer of top coat every few days will protect your glitter nails and keep them looking shiny.
- Avoid Using Your Nails as Tools: Be mindful of using your nails to open cans, peel stickers, or perform other tasks that could cause chipping.
- Wear Gloves When Cleaning: Protect your manicure from harsh chemicals and prolonged water exposure by wearing gloves while doing household chores.
Conclusion
Glitter nail art is a fantastic way to add a bit of sparkle and fun to your nails. Whether you prefer subtle accents or all-out glamour, there’s a glitter design that’s perfect for you. With these easy-to-follow ideas, you can create stunning nail art at home without needing a professional salon visit. Remember to experiment with different colors and textures to find the style that best suits you. By following our tips and tricks, you’ll enjoy beautiful, long-lasting glitter nails that are sure to turn heads!
Stay tuned to our blog for more nail art inspiration and tutorials. Happy glittering!
Thank you for this comprehensive guide. The practical tips you’ve shared are going to be very useful for my work.
Thank You for the feedback.
Your expertise really shines through in this article. The practical tips and insights you’ve shared are going to be very useful for my work.
Thank you for your post. I really enjoyed reading it, especially because it addressed my issue. It helped me a lot and I hope it will also help others.
Your articles are extremely helpful to me. Please provide more information!
Please provide me with more details on the topic
You’ve the most impressive websites.
How can I find out more about it?
Share your interested area. I will share more articles.
Your articles are very helpful to me. May I request more information?
Thank you for feedback. Yes. Please ask your questions.
Great beat ! I would like to apprentice while you amend your web site, how could i subscribe for a blog site? The account helped me a acceptable deal. I had been a little bit acquainted of this your broadcast provided bright clear concept
Thank you for appreciate. Keep in touch with us for further info.
You’ve been great to me. Thank you!
Thank a lot for your feedback !
Thank you for writing this post!
Your articles are extremely helpful to me. Please provide more information!
The articles you write help me a lot and I like the topic
May I request more information on the subject? All of your articles are extremely useful to me. Thank you!
Yes. Please